
I make no claim to any talent at building rods, so if you are looking for a tutorial or help on your own projects I would highly encourage looking elsewhere. This is my third rod build I’ve taken on and my second Blue Halo fiberglass rod. I know a lot of people aren’t fans of fishing on glass but I really do enjoy the smooth, slow casting pace. And maybe I’m being a little bit biased, but I think the soft rod lets you fish smaller tippet to bigger fish than you could on a conventional fast action rod. I digress, back to the task at hand, this rod is a 7′ 6″ three weight rod made for the small creeks that surround me. The blank is Blue Halo’s 2nd gen three piece rod in cappuccino color.

The most tiring portion of the build is definitely fitting the cork handle to the rod. The cork does not come to fit the rod, so a long process of removing material with a round file, and checking the fit begins. It is iterative, first the top fits, but not the bottom. Eventually you get a snug fit to the rod, ensuring space for the reel seat to fit under the cork grip. With a little 2 part mix epoxy this portion of the rod is finished. NOTE: it is very important to make sure you have everything lined up, reel seat, natural bend of the rod and any lettering on the rod at this point. After the glue sets you get what you get.
Before you can begin attaching any guides you have to properly space them and ensure they are on the correct side of the rod. If you are thinking “correct side?? It’s a circle!’, so was I. However each rod piece is manufactured to have a belly and a spine. These are determined by placing the rod end on a level surface and pressing down gently with your hand until you can begin to notice a pattern as to which way it bends. Correctly determining this is key to getting a smooth and easy casting rod.

The next phase is to determine the rod guide spacing and to attach the rod guides. The spacing is determined by the manufacturer and I usually attach the rod guides with electrical tape to keep things lined up for the thread wraps.


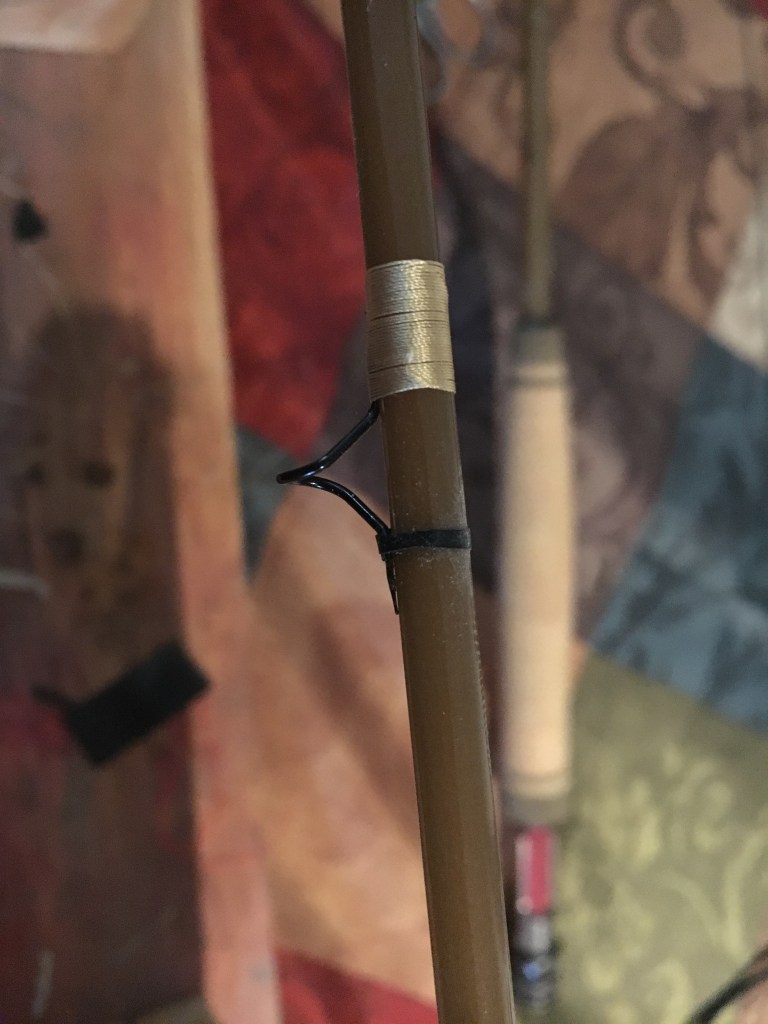
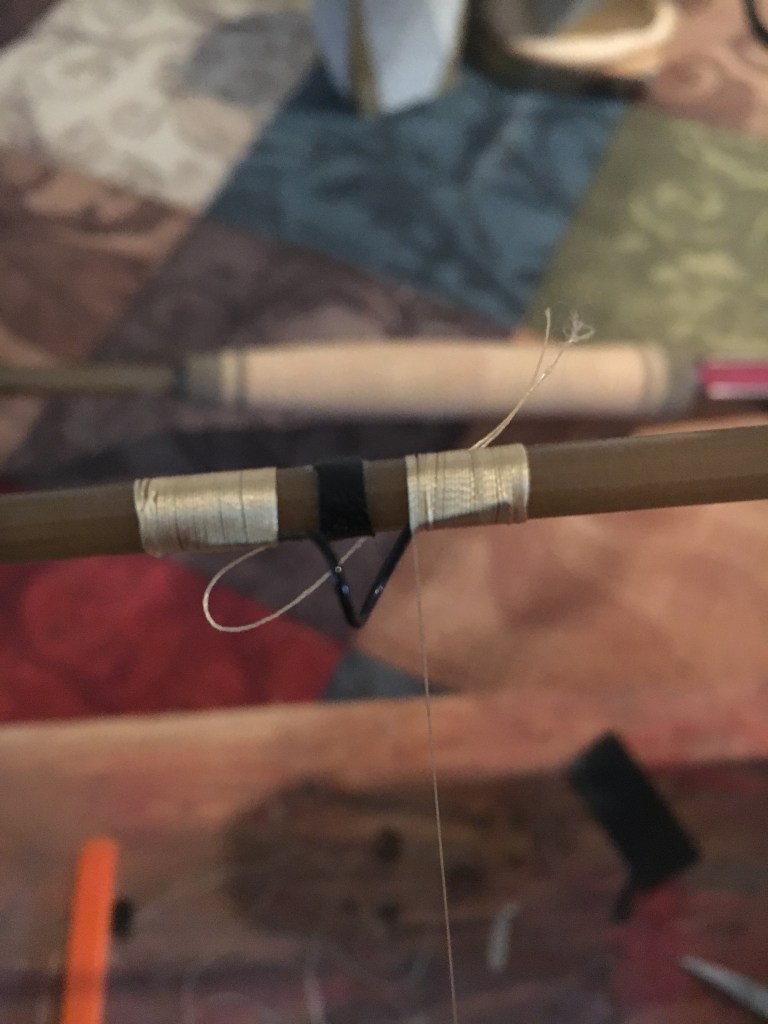
When it comes to wrapping the thread I didn’t go for one of the professional setups. My wrapper did not have an adjustable thread dispenser or even a true bobbin. My “bobbin” was a bolt and a wing nut to control tension. It worked well for the most part despite being a bit of a pain for wraps near the ends of each blank section. However compared to the price of the correct tool, this was just a minor inconvenience.

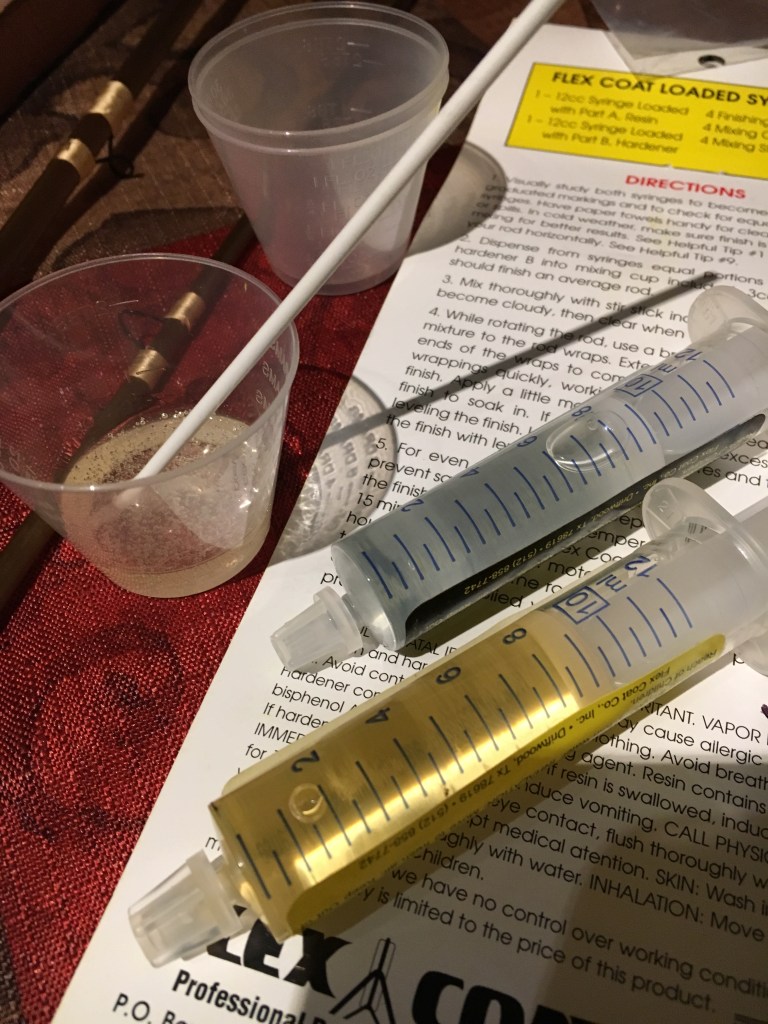
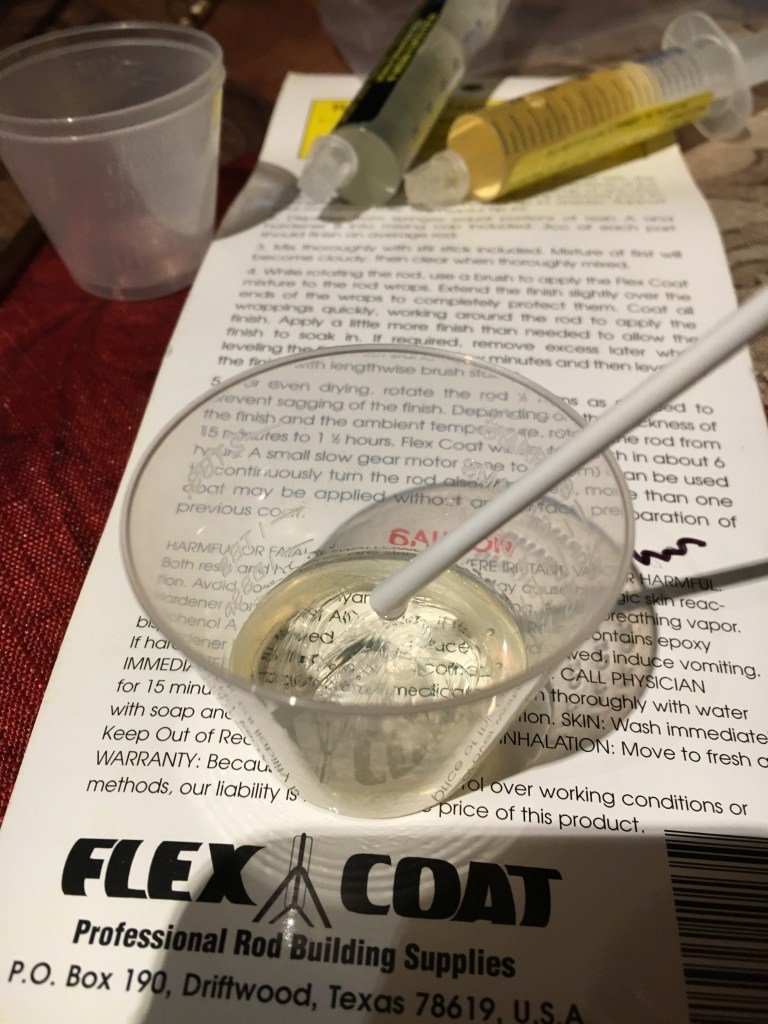
With the wrapping finished up the most exciting and satisfying step begins, the epoxy. The epoxy is a slow drying mix, the extended length of cure equals a more flexible rod coating. This flexibility leads to longer lasting wraps and a longer lasting rod. Flexibility is going to be especially important because this rod is a wet noodle and can flex like crazy!
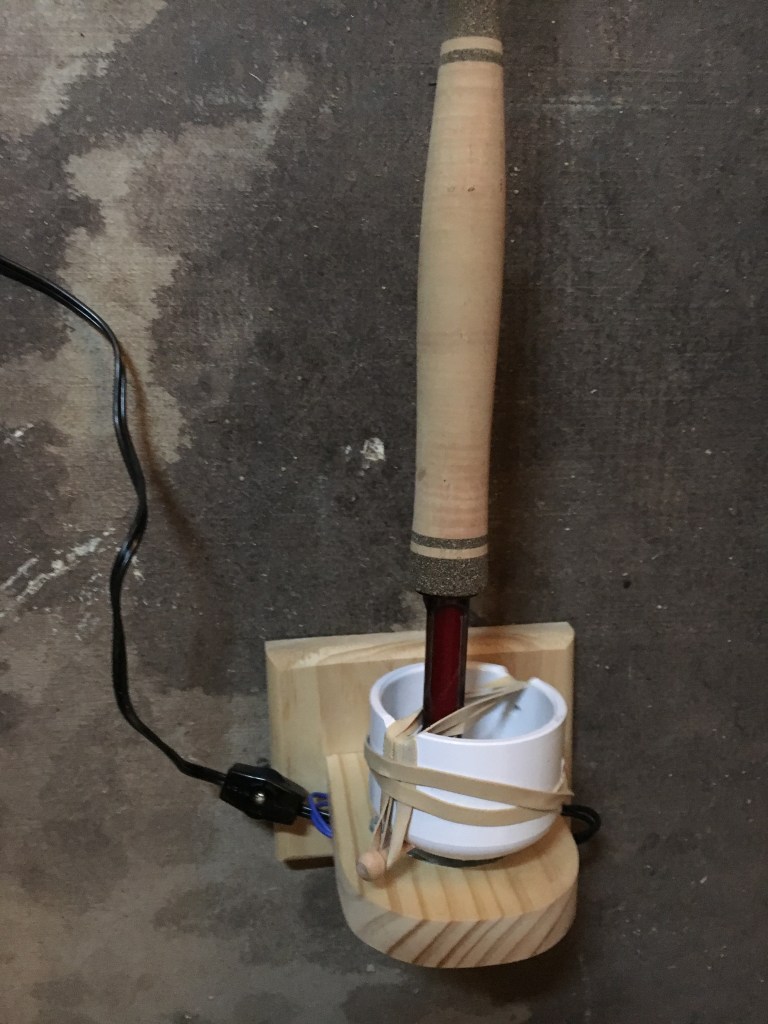
Before applying any glue I put the rod in my drying set up. It is a 20 rpm motor attached to a 2″ PVC cap and fitted with rubber bands to hold the reel seat and spin the rod. This allows for easy application and makes for clean and even epoxy over the wraps. The epoxy takes approximately 2-4 hours to be dry enough to stay in place and an additional 8-12 hours to cure. I like to leave my rod turning for at least 4 hours to ensure that the epoxy is evenly distributed around the wraps.
To apply the epoxy I use a cheap paint brush with plastic bristles. Don’t be too worried about a completely even application, the spinning will even the coat out. Be sure to apply enough of a coating to thoroughly coat the wraps but not so much that it looks like a big drop of water around each wrap.


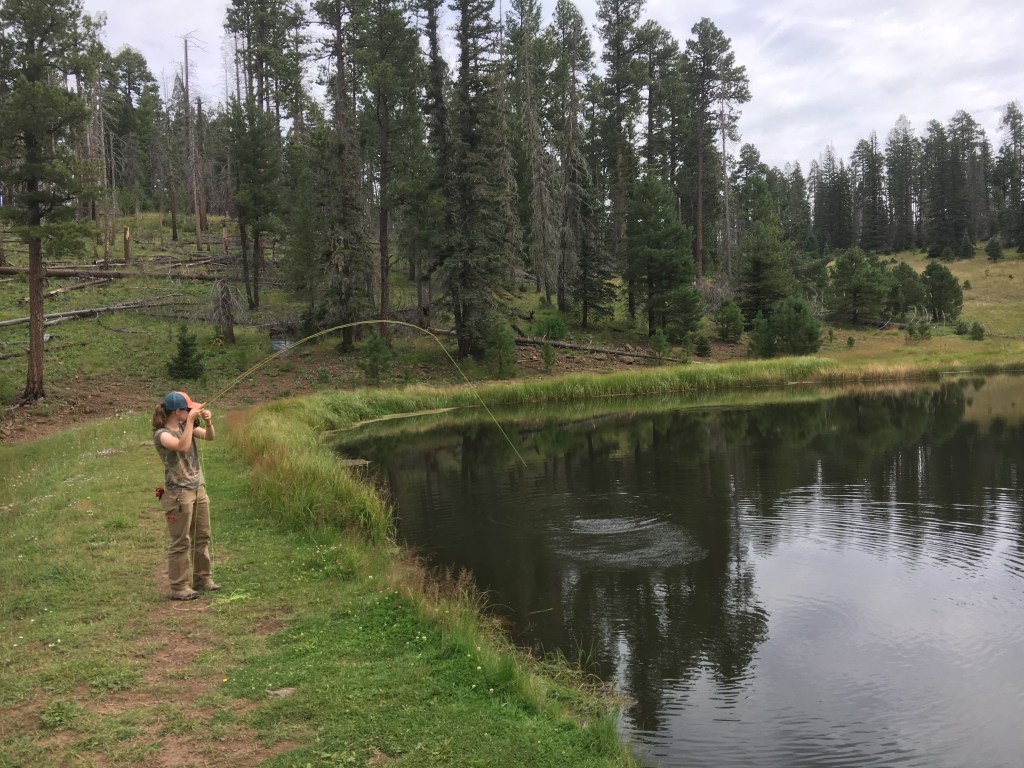
With the rod dried out it was time to take it fishing! Kayla decided to break it in on some of Arizona’s native Apache Trout and even brought in the largest either of us had ever caught. The fish smashed her hopper and had her rod bent nearly in two before she even had a chance to take her hand off the line. Soon enough the fish was in the net and back into its home. What a way to break in a new rod! It will certainly be tough to beat but we are looking forward to the challenge!!


Looking good, man. Love the olive blank on red reel seat combo.
LikeLiked by 1 person
Thanks man! I’m excited about how it came out, only problem is it blends in if you set it down!
LikeLike